In this guide, we'll cover how to set up the client app on your Linux devices and show you the browser and terminal usage basics. So, let's get started!
Installation steps:
1. Check the installation prerequisites
2. Download the client configuration file
3. Install dependencies
4. Download the client
5. Start the client and connect to the server
1. Check the installation prerequisites
- Internet connection
- A user with sudo privileges
Please note that this article will demonstrate the client installation procedure based on the Ubuntu 20.04 64-bit distribution.
2. Download the client configuration file
Please visit SocketPro dashboard → Login → Click the user profile icon at the top-right webpage → Settings → API Settings → Subscription link - Clash format → Copy. Paste and access the URL in a new browser window, download the configuration file.
When the configuration file is downloaded, copy the file to ~/.config/clash/config.yaml
3. Install dependencies
For CentOS/Fedora/Red Hat system, run command:
sudo yum install curl wget jq
For Ubuntu/Debian system:
sudo apt install curl wget jq
4. Download the client
Run command:
rm -f clash* && curl -LO $(curl -ksL "https://api.github.com/repos/Dreamacro/clash/releases/latest" | jq -c '.assets[] | select( .name | contains("clash-linux-amd64"))' | jq -r ".browser_download_url") && gzip -d clash* && mv clash* clash && chmod +x clash && sudo mv clash /usr/local/bin
5. Start the client and connect to the server
Run command to start the client:
clash
For the first-time startup, Clash needs to download the IP location database. It may take 5 - 10 minutes to complete this progress. See the image below for details:
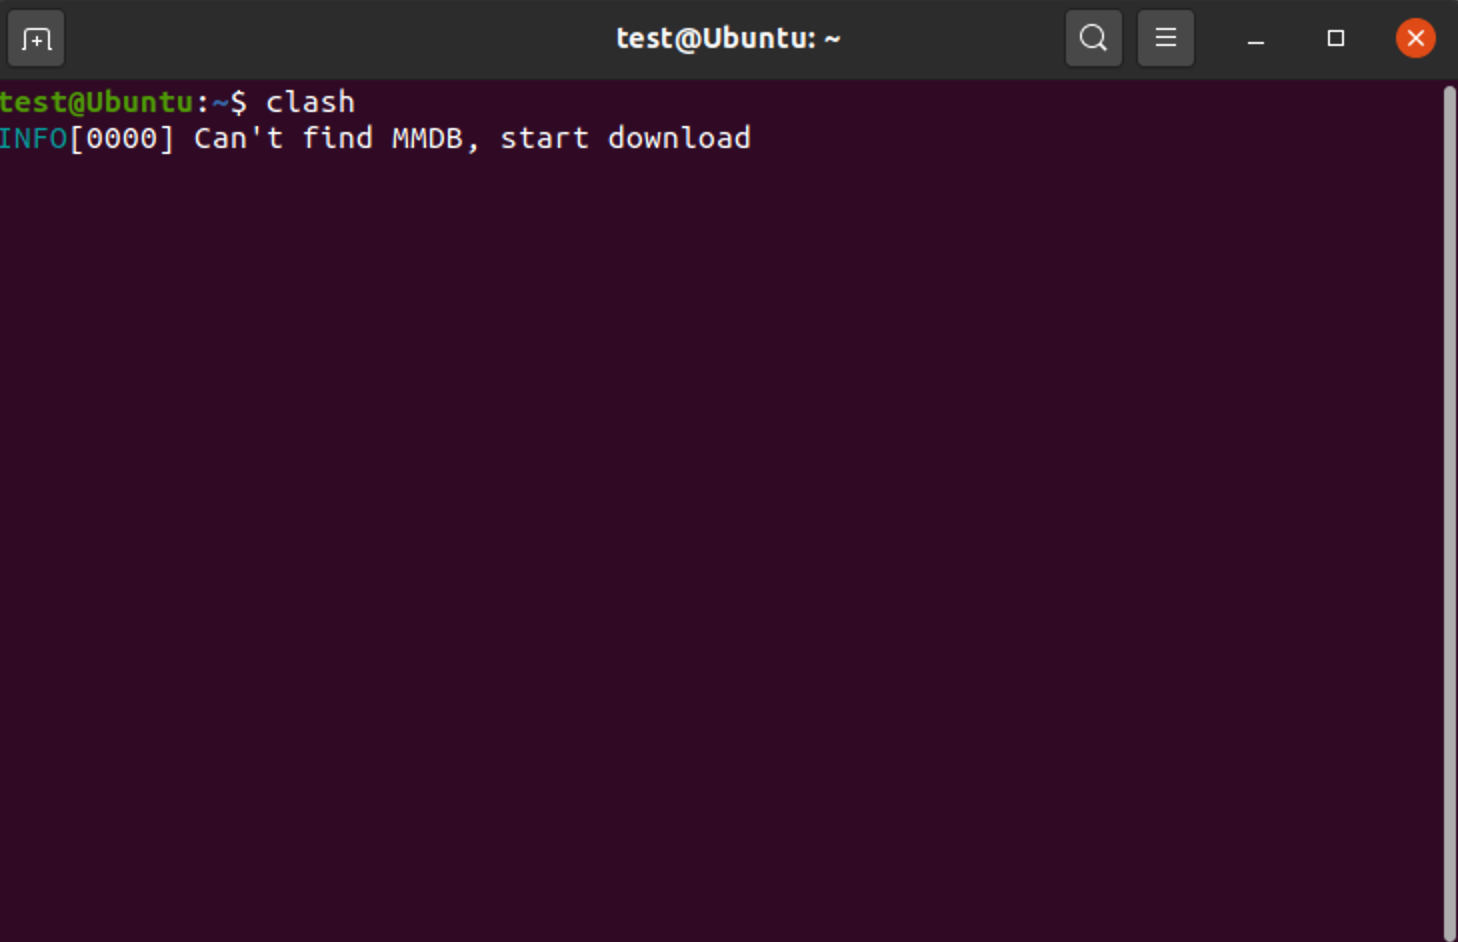
An alternative IP location database (MMDB) is also available here, place it to ~/.config/clash/Country.mmdb
When the IP location database is downloaded, the client will start. See the image below for details:
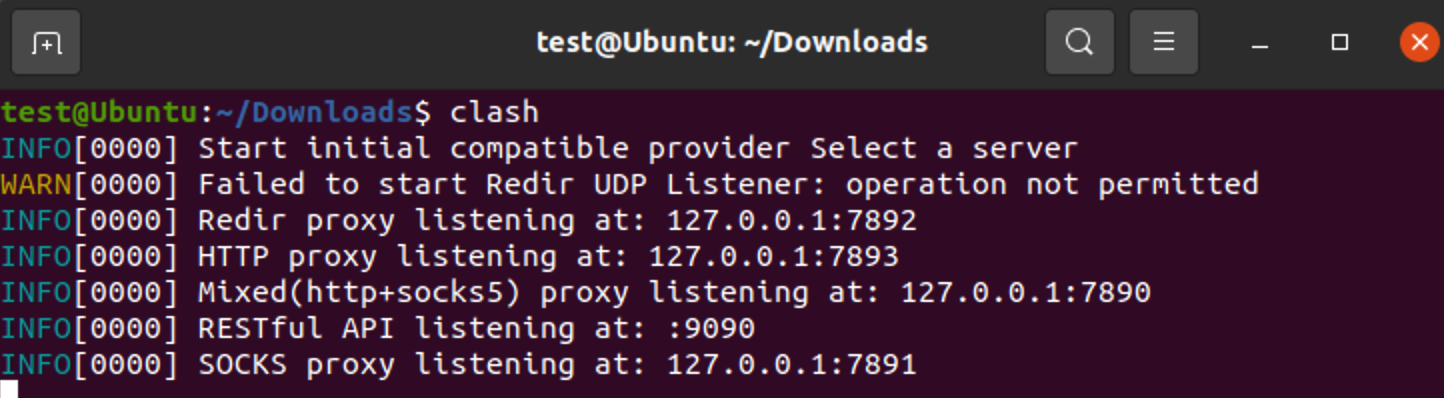
Please be advised that the terminal window will hang (unavailable for the other commands) after starting the client. You can't close this terminal window, or the client will stop running. If you want to use the terminal, a good way is to start the client in another terminal session or consider using other commands to start the client process work in the background.
After that, the client will start a local HTTP/SOCKS5 (both connect method is acceptable) proxy, detailed information below:
Proxy type: HTTP/SOCKS5
Address: 127.0.0.1
Port: 7890
No username or password (leave them empty)
Advanced usage: Switch server/mode via GUI
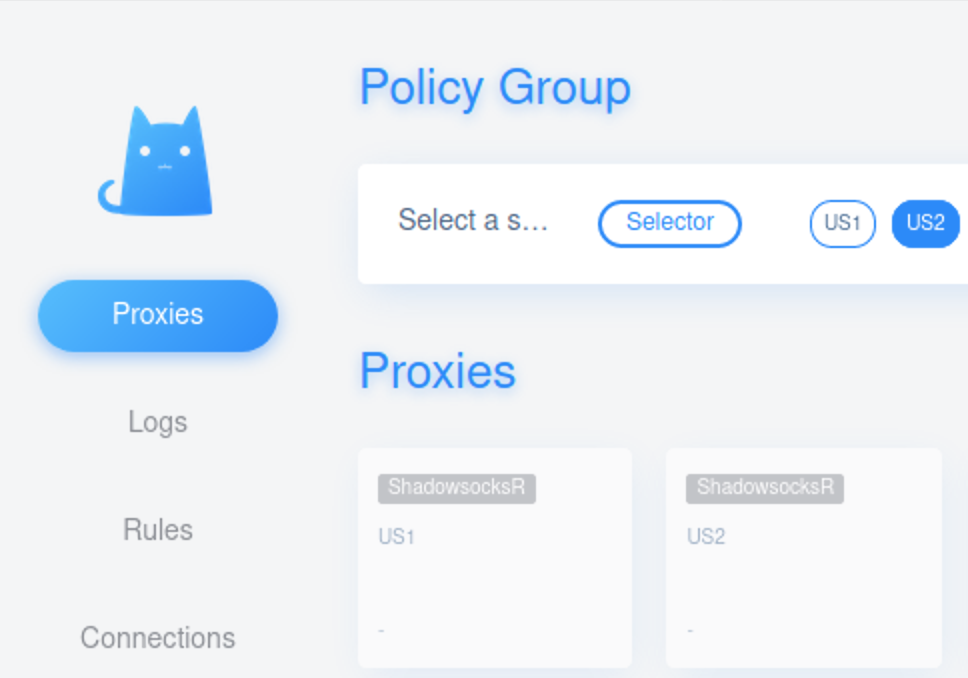
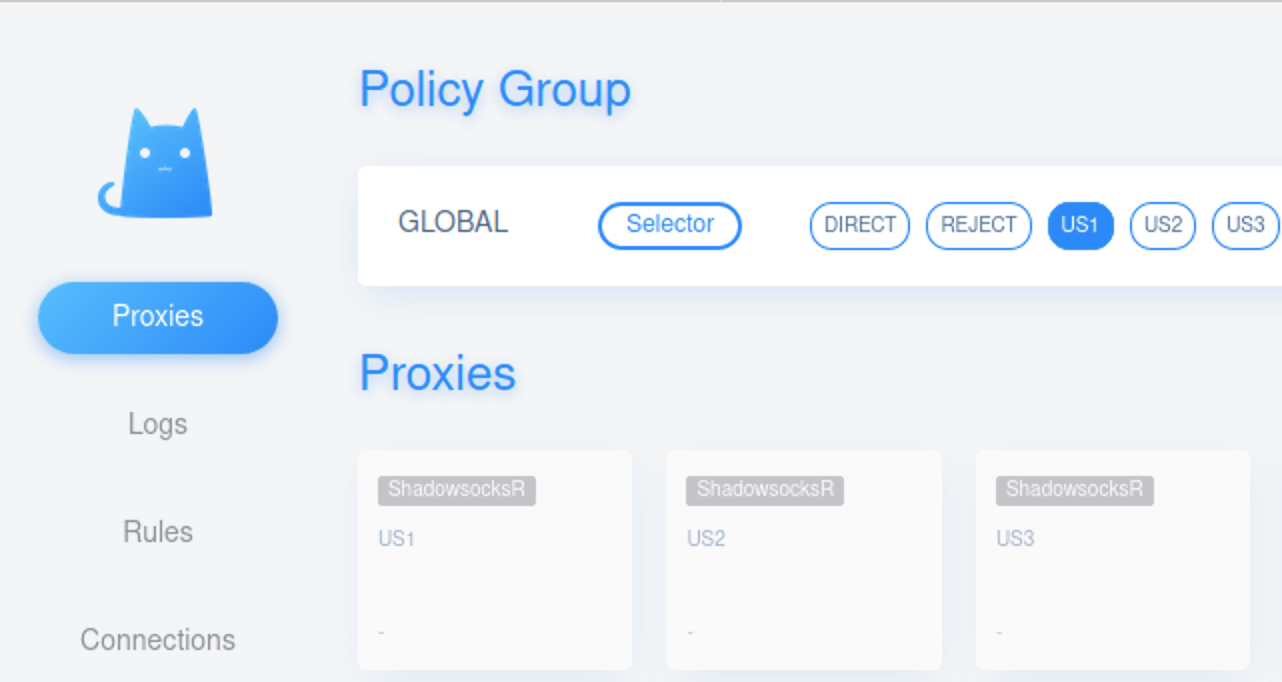
By default, the client connects to the first server listed in the configuration file. To switch your preferred server, please visit http://clash.razord.top Click to switch the server. See the image below for details:
To switch client routing mode, visit Setting → Mode. See the image below for details:
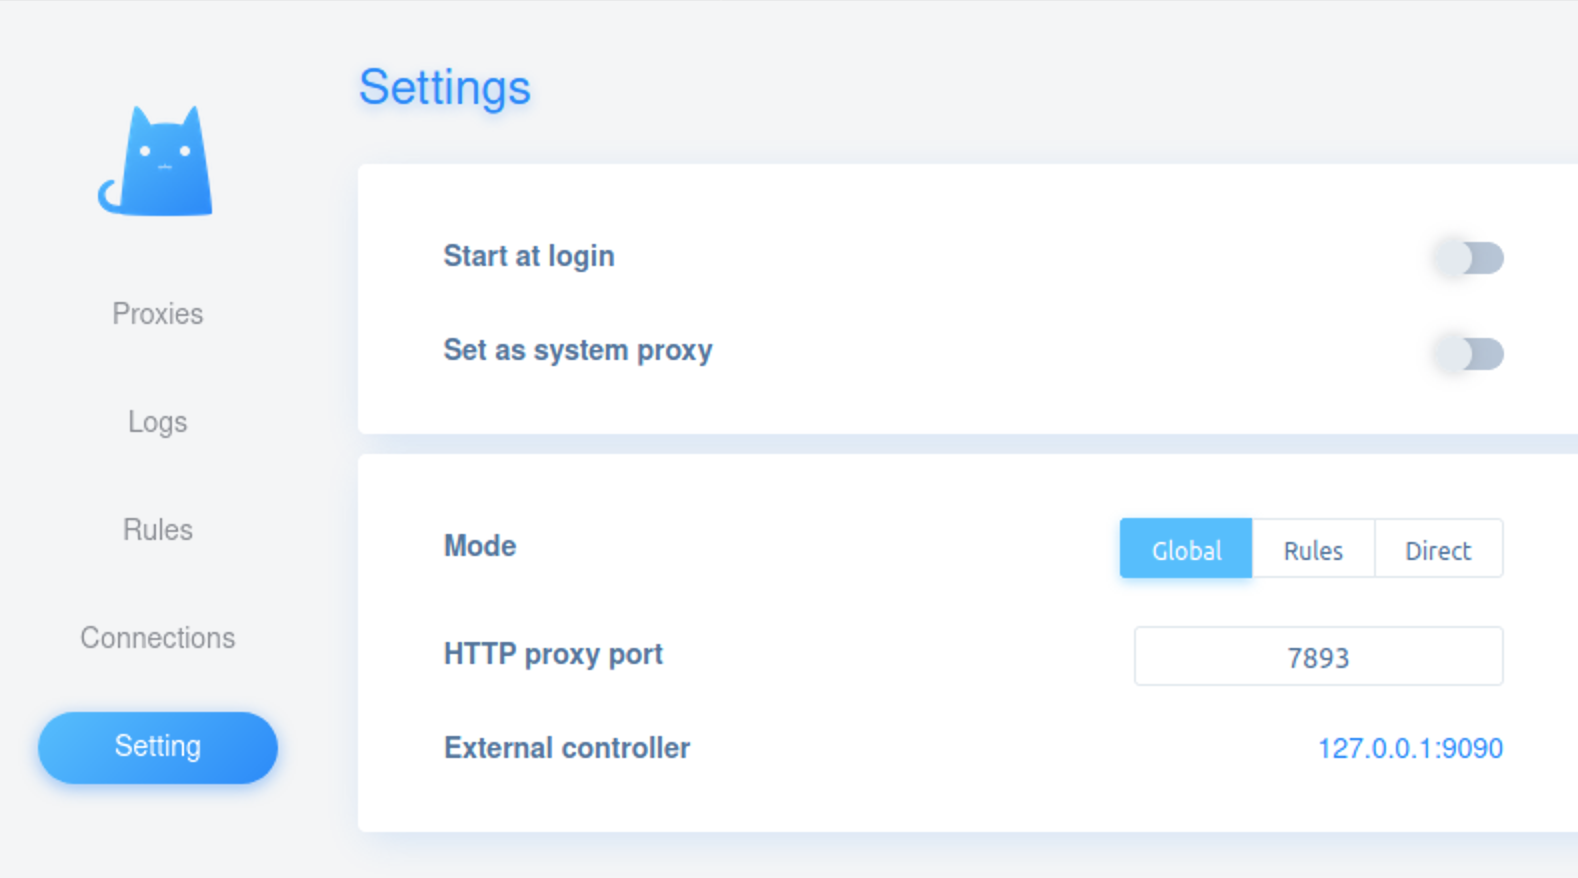
Switching routing mode requires a re-selecting server. See the image below for details:
Please note: before accessing this site, make sure that the client is running and operating normally.
Advanced usage: Switch server/mode via CLI
If no graphic user interface is available on your Linux device, switching server/mode can be done by running the command:
Switch server:
curl -s -X PUT http://127.0.0.1:9090/proxies/Select%20a%20server --data "{\"name\":\"${endpoint}\"}"
Switch mode to Global:
curl -s -X PATCH http://127.0.0.1:9090/configs/ --data "{\"mode\":\"global\"}"
You need to select a server again after the mode switch:
curl -s -X PUT http://127.0.0.1:9090/proxies/GLOBAL --data "{\"name\":\"${endpoint}\"}"
Please replace ${endpoint} with the server name (case sensitive) to your preferred server when running the commands. e.g., US1
How to route program and terminal command traffic to the SocketPro server?
The service SocketPro offered is basically a proxy, not a VPN. Therefore the client won't route all traffic from your device to our server. To connect via SocketPro, you need to:
- Specify the program/command proxy option if supported.
- Force the program/command to route Internet traffic via SocketPro server via the third-party program (e.g., proxychains-ng) if not supported.
We have two examples below for your reference.
Case A: Proxy Firefox via SocketPro
Start Firefox ➡ Preferences ➡ General ➡ Network Settings ➡ Settings...
Select Manual proxy configuration and fill in the information we mentioned above. The settings should be similar to the image below.

Click OK, and don't forget to restart your browser.
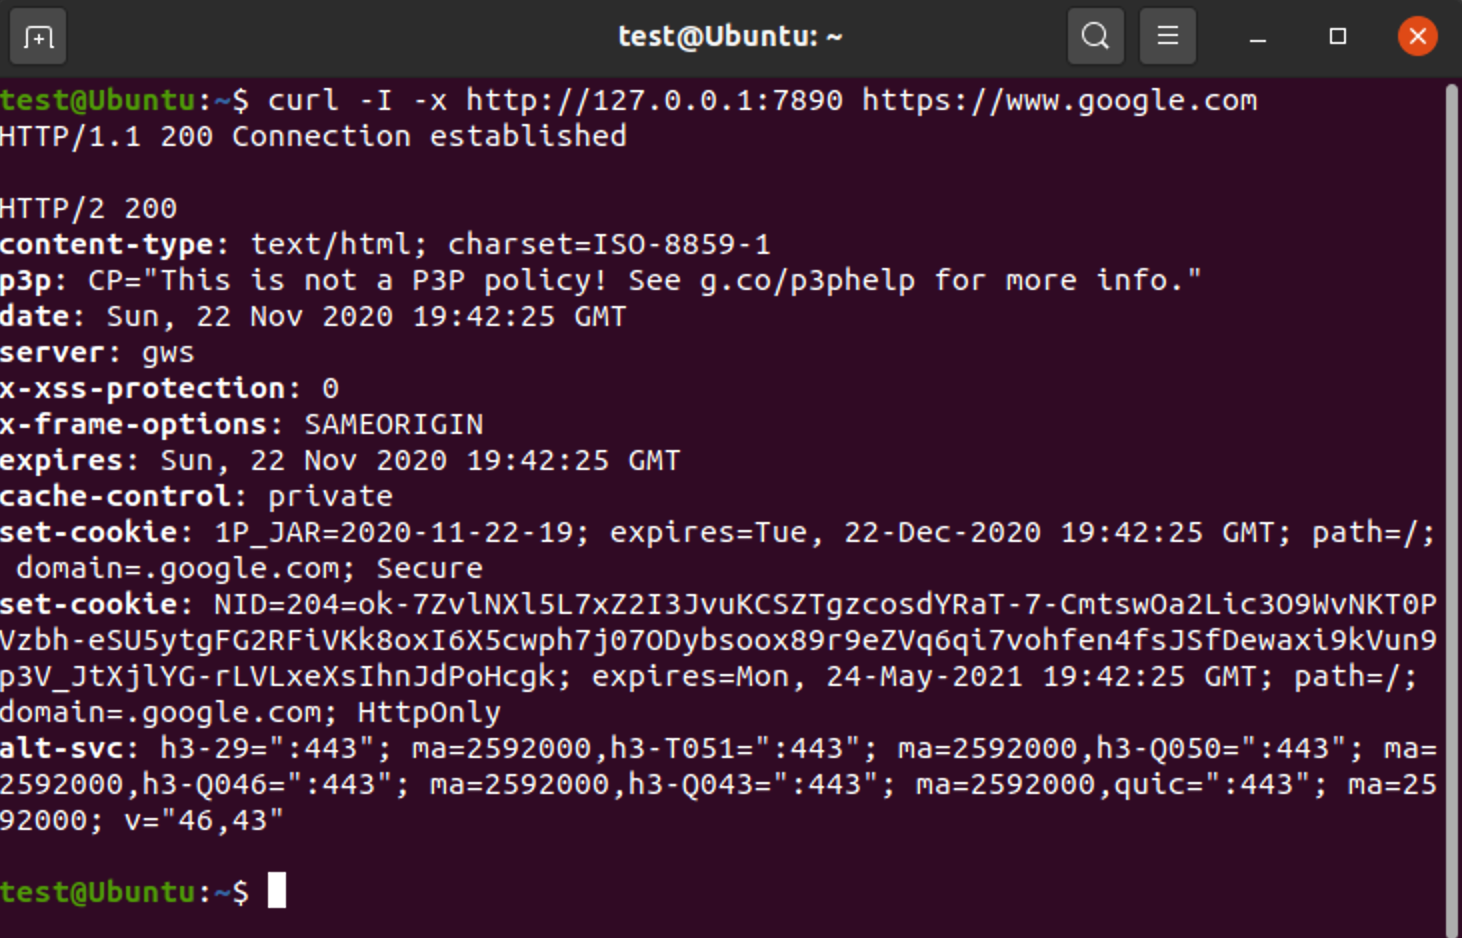
Case B: Proxy terminal command via SocketPro
We use the curl command here, for instance. Curl command support proxy with the -x option, and here we made a curl call to Google. The result is available below.